Film, Powder and Ink Supplies")


Screen Printing & DTF Supplies - St. Louis & Atlanta

Screen Printing Startup Sets
Everything you need to start your own business: equipment, supplies, and training.

DTF Startup Sets
Start your new DTF journey with every item you'll need to start DTF printing from day one.

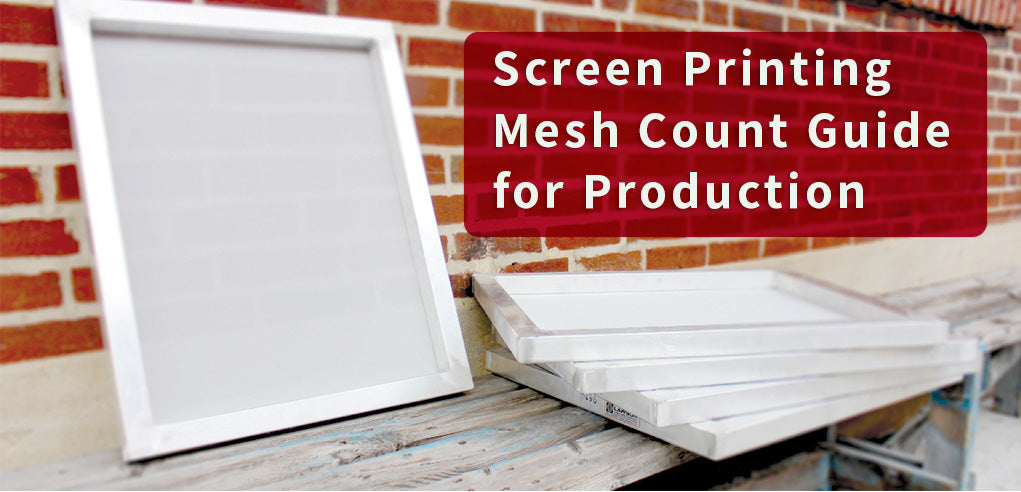
Screen Printing Exposure Units
Shop exposure units for burning screens that are compatible with film positives and CTS.
Customer Reviews


ABOUT LAWSON SCREEN & DIGITAL
Lawson Screen & Digital is your one stop shop for screen printing, DTF printing, DTG and UV DTF printing. We've been family-owned and pionering screen printing since 1949 and we provide the best equipment, supplies and support in the industry. Known for our innovative yet easy-to-use designs, we make it easy for printers of all sizes to work smarter and more efficiently. With locations in St. Louis and Atlanta, Lawson continues to lead the industry with superior service and cutting-edge technology.
LEARN MOREEDUCATION & TRAINING CLASSES


LawsonTV How-To Videos
Discover how to start a screen printing business with LawsonTV's "How-To" videos.

Screen Printing Class
Learn about the printing process from start to finish and gain hands-on experience in t-shirt printing.

DTF Printing Class
This hands-on class provides a unique opportunity to gain experience and expert guidance in Direct to Film printing.
SHOP BY BRAND


LATEST PRODUCTS
Customer Reviews


Subscribe to our Newsletter
Deal Alerts and Information delivered to your inbox.
Click Here To Subscribe!About Us

Lawson... Making it Simple Since 1949
About Lawson Screen & Digital Products: We manufacture DTG equipment and screen printing machines. Lawson also provides training, one-on-one technical support and screen printing support. Plus we offer DTF printers, shakers, ovens, and all of the digital and screen printing supplies you need.
About Us

We Invite You to Visit Us Virtually
Lawson's Virtual Solutions Center: A great way to meet the real people who make us a company that cares. Our technicians love discussing new ideas and the challenges you face to find solutions tailored to your needs. Each session is fully personalized, ensuring the focus remains on you.
Latest Blog

Screen and Digital Printing Posts
Weekly Blog Posts: Stay up to date on the latest screen and digital printing trends, tips and tricks. From getting started to moving your business up to the next level, both beginners and experts will find posts that will help you to grow your business.